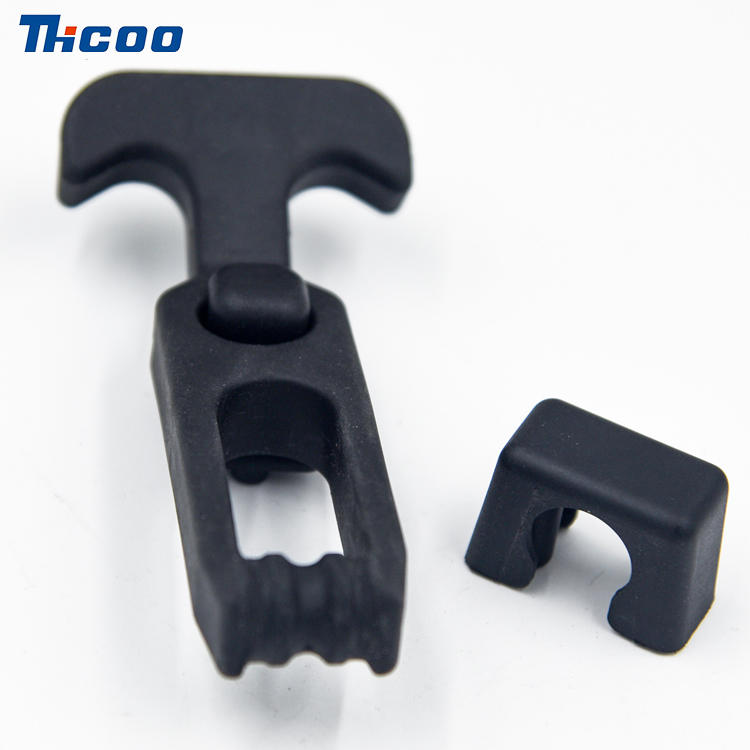
Installing Flat Mounted Stainless Steel Hinge is a task that requires meticulous work and the right tools. The following is a detailed installation guide, including the tools and steps required, designed to help you complete the installation process smoothly.
Required tools
Screwdriver: Choose the appropriate screwdriver according to the specifications of the screws on the hinge. Common ones are Phillips screwdrivers or flat-blade screwdrivers.
Electric drill or impact drill (optional): If you need to drill holes in hard materials (such as concrete walls), an electric drill or impact drill will be an indispensable tool.
Measuring tools: such as tape measures or vernier calipers, used to accurately measure the installation position and drilling depth.
Level: Ensure that the hinge is installed horizontally to prevent the door or window from tilting during use.
Marker pen or pencil: Mark the drilling position before installation for subsequent operations.
Safety equipment (such as gloves, goggles): Protect your hands and eyes from accidental injuries.
Installation steps
Preparation: First, clean the installation area to ensure that there is no dust, debris, and other factors that may affect the quality of the installation. Then, carefully read the installation instructions of the Flat Mounted Stainless Steel Hinge to understand the product features and installation requirements.
Measurement and marking: Use a measuring tool to determine the installation position of the hinge. Determine the appropriate installation height and spacing based on the size and weight of the door or window and the specifications of the hinge. Use a marker or pencil to mark the installation position.
Drilling: If you need to drill holes in the wall to fix the hinge, use an electric drill or impact drill to drill holes according to the marked positions. Pay attention to controlling the drilling depth to avoid damaging the wall structure or hidden facilities such as wire ducts.
Install the hinge base: Align the base of the hinge with the drilling position and fix it with screws. During the fixing process, use a level to check whether the base is level to ensure that the installation is stable and will not shake.
Install the door or window: Place the door or window in the installation position and ensure that it is aligned with the hinge base. Then, use screws to fix the door or window to the upper part of the hinge. Pay attention to adjusting the opening direction and angle of the door or window to ensure that it meets the requirements of use.
Adjustment and testing: After installation, gently push the door or window to check whether it opens and closes smoothly. If necessary, fine-tune the hinge screws to improve the opening effect of the door or window. At the same time, check whether the hinge is firm and reliable, without looseness or abnormal noise.
Cleaning and maintenance: Finally, wipe the surface of the Flat Mounted Stainless Steel Hinge with a clean cloth to remove stains and fingerprints generated during the installation process. In daily use, regular cleaning and maintenance of the hinge can extend its service life and maintain good use effect.
Through the above steps and the preparation of the required tools, you can successfully complete the installation of the Flat Mounted Stainless Steel Hinge. Please note that during the installation process, be sure to follow the requirements of the product manual and safety regulations to ensure installation quality and personal safety.

 English
 Deutsch
 简体中文
简体中文 languages


